Expert Tips On Getting Reno Right
We are delighted to welcome The Block winners Caleb and Alice Pearson to our team for a step-by-step feature aimed at helping investors plan their renovations.
31 August 2022
Renovation is a tricky business. Get it right and it can transform a hovel into a highquality home people will pay top dollar for. Get it wrong and you can lose thousands.
The right advice is essential for anyone thinking about renovating their investment property: it can be the difference between spectacular success and epic failure.
Caleb and Alice Pearson are experts at renovation. Winners of The Block 2013, they have been buying, renovating and selling homes since, documenting their successes on their pearsonandprojects Instagram page, and inspiring other wannabe renovators to follow in their footsteps.
Since 2013 they have completed 11 renovations, including a “renovation road trip” where they ditched their jobs and conducted their version of a “Big OE”.
“We travelled to Central Otago and bought a house, which we renovated and sold,” says Caleb. “Then we moved to Richmond in Nelson and did the same thing.”
Timing Is Everything
This sale coincided with the beginning of lockdown, but the timing was fortuitous.
“We sold the house in February 2020. The truck was loaded, we had packed up everything and had our flights back to Auckland booked. Luckily, we had three days to get back home to Auckland; and the new owners moved in on the day of lockdown.” C
aleb and a business partner have branched into development, having recently completed a residential townhouse development on Te Atatu Peninsula. A nine-house project is now planned for Browns Bay.
And the family, which now includes four children, Alek (8), Mika (6), Blake (2) and Brooke (seven months), has just purchased their forever home in Hatfields Beach, north of Auckland.
New Zealand Property Investor magazine is delighted to welcome Caleb and Alice to the magazine team for a step-by-step feature aimed at helping investors plan for their renovations. Some features will be extremely practical, others will offer useful, broader advice for larger jobs. In this issue, with spring in the air, Caleb explores the ins and outs of creating an outdoor space that will attract great tenants and add significant value to your property.
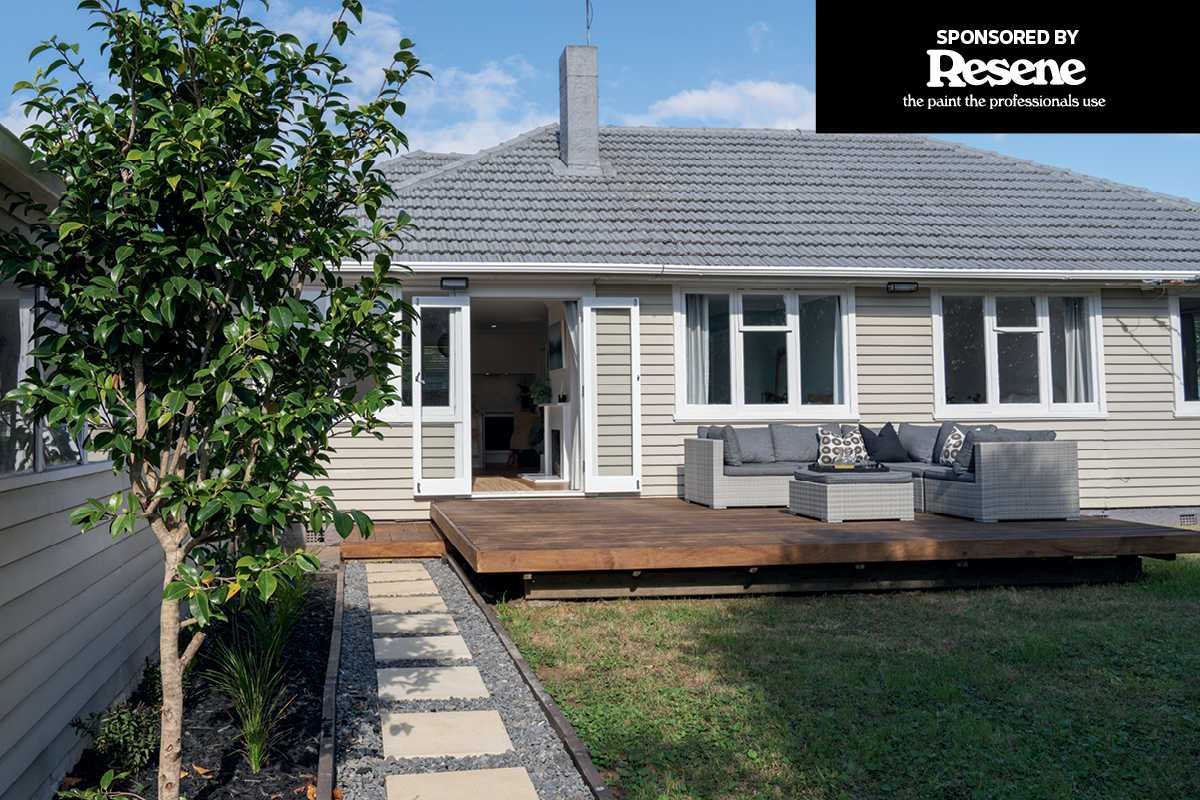
New Zealanders love the outdoors, which is why a backyard barbecue with family and friends often creates the best memories of the warmer months. When it comes to a property, having an outdoor area for entertaining or relaxing is a big drawcard. It creates an improved lifestyle for its occupants, and a more attractive property overall.
We typically view a nice outdoor area as part of the house rather than just being “outside”. This provides the perception that the outdoor living space is part of the total usable floor area to a home. And as floor area goes, it creates a good return on your investment. Outdoor spaces are more affordable and simpler than creating a new indoor space, and in most cases do not require consent. While they can’t be used year-round, I consider them a top value add for any property.
If your investment property does not have an exterior living space, here are my simple steps to get you started.
Step-By-Step Creating An Outdoor Area
Step 1
Assess Your Property
Before I start any project I always take time to consider what my main objectives are, then how this could best be achieved with the spaces I’m working with. Each property is different, so planning is invaluable and can save time and money when it comes to construction. Here are some factors to consider.
- Review the possible locations an outdoor living space could go – it may be obvious, or there may be several options. Consider orientation for sun and protection from the elements; consider the scale of this space with the available outdoor area you are working with.
- Are there existing features you can use to your advantage? A hedge or fence can create a good “wall” to enclose a space, or an existing external door may create a connection from inside.
- How will the exterior space connect with the inside of the house? An outdoor space that has some connection to a kitchen or inside living space will be utilised more and will be attractive to tenants or buyers.
- Factor in levels. A living space on the ground level is more affordable than building it above ground, as this requires a support structure. Weigh up your budget, preferences and space.
- The preferred location would flow off an indoor living space, get sunlight and have some screening. It’s hard to tick every box, so this assessment will help you create the best plan
Step 2
Design Your Space
Once you have picked the best location and approximate size, it’s time to get into more detailed planning. A hand-drawn scaled plan is a simple way to get underway, but if your project requires a consent (decks over 1.5m), or you wish to outsource, then you can engage a professional for this part. When it comes to designing your space, you need to consider the following.
- Size and dimension. The floor materials are generally the most expensive part, so bigger means more cost. However, it needs to at minimum be a functional shape. Think through how you would use the space: for example, where furniture and a barbecue could be placed.
- Pick your materials. There are a range of options. What you select will vary depending on your specific property and budget, amongst other things. The most common are decking, paving, concrete, brick, tiles or aggregate.
- Walls and screening. A partially enclosed or screened area may create a much more enjoyable space and provide shelter from wind, privacy, and create a cosier space. You may be required to add in a balustrade – safety barriers are required on drops over one metre.
- Roofing. Covered spaces can help turn an exterior living space into the feel of an additional room. This creates additional complexity, but it’s valuable to consider whether to include this now or at a future stage.
- Details. Think about small details for look, function and ongoing maintenance. This can include soft landscaping as part of the overall area, edging to gardens, lighting, or dedicated space for a herb garden, for example.
Step 3
Execute
Once you have a clear plan and scope, it’s time to get the space built. Whether you choose to do this yourself or through contractors, key items to consider are listed below.
- Establish costs. Get quotes for materials and labour if you are outsourcing.
- Be prepared before you start. Have a list of everything you need to get the job done and make sure your materials are available and ready.
- Establish a programme, and if your property is tenanted, outline the impact to the tenants and agree the work with them.
- Do it right. While there may be ways to take shortcuts, these generally cost you more in the long run.]
An outdoor living space is a great addition to a rental property. In most cases, there will be an option to create this without too much complexity, or there are many ways this can be upscaled or developed in stages, as time and budget permit. An outdoor living area will add a new area to the home, provide better living spaces, a more desirable rental, and generate more value for your property.


