Unlikely Success
A renovation that left the owner $20,000 in the red has been hailed as a success, as Joanna Mathers discovers.
31 October 2020
It’s not common for an investor to be happy about a project that they made a five-figure loss on. But Ramin Tavakoli counted it as a win when his radical renovation in East Auckland sold.
“Everyone told me that it couldn’t be done, I was happy to prove them wrong!”
The general manager of Maintain to Profit East Auckland estimates that he’s done hundreds of renovations over the years. These renos span the globe: Iran, Belgium, Slovakia, France and here in New Zealand. But the run-down Mediterranean wannabe in Weymouth was particularly memorable. Tavakoli was called in, in a professional capacity, by the owner of the 1930s home when she was seeking to have the place repaired and restored.
It was a mess: her ex-husband had started work on it (and pulled down walls) in the 1980s before their marriage broke up. It had remained in this state of disrepair for decades before she decided to get it fixed. Unfortunately, no bank would touch it.
“All the banks she went to declined her application. She then went to nonbank lenders, and they also didn’t want to touch it.”
It wasn’t surprising. The house had holes in the roof and external walls; there were concerns that it was structurally damaged. But when Tavakoli used a thermographic camera inside the walls to detect any dampness, he found the framing was still solid.
“There was no rot or damage in the framing,” he says. “I talked to the lenders, and said that the place was structurally sound, but they still weren’t prepared to take the risk.”
So, he made an offer on the property himself, which the owner accepted gratefully: “She was really happy to sell it,” he says.


A Gut Job
The two-bedroom home was in a terrible state. Walls were knocked down, the plaster cladding (that had been added to give the home that “Mediterranean” feel in the 1980s) was filthy. The kitchen and bathroom were languishing in neglect.
“The bank said it was impossible to renovate. But I knew it was doable.” He picked it up for just $400,000 (this was just the value of the land: the house was considered worthless). And the first job? “Demolition.”
“All the inside walls were removed, the kitchen and bathroom gutted. The ceiling was reframed and rebuilt. We started all over again.”
As the project manager, Tavakoli planned each stage of the project three to four weeks in advance. With 70-plus tradies on the job, the project needed to be run with cutting-edge precision. One of the main bonuses of houses this age is their structural integrity. The framing and the floorboards are rimu, and there was the opportunity to polish the floors.


Builderscrack Wooden Flooring Tips
Many pre-70s NZ homes with ring and pile foundations were constructed with tongue-and-groove timber flooring. Typically rimu or matai was used, and both have excellent properties, provided they’ve been kept free from moisture and borer. Exposing these beautiful native timber floors, with the right preparation, is a lovely way to create a durable flooring surface. Here’s a rundown of what needs to be done.
1. Firstly any floor covering must be removed. Be aware that asbestos tiles were commonly used in homes of this era, and these must be removed by a suitably qualified professional.
2. The floor must be carefully checked for any rot or borer. Affected floorboards must be removed and replaced. Many salvage operators serve the market with like-for-like boards, and these can be milled if needed.
3. Any proud nails should be punched below the surface.
4. Typically if a floor has never been surfaced, a drum sander will be used to level the boards. If the boards have been sanded before, a refinishing sander can be used.
5. A suitably tinted wood filler with the ability to accommodate some movement in the timber should be used to fill any cracks and holes. After drying, the affected area should be lightly resanded.
6. All the dust should be carefully vacuumed up, leaving a clean surface to apply oil or polyurethane.
7. The floor should be immediately oiled or polyurethaned according to the instructions supplied with the product. There are a number of different products on the market, and depending on the characteristics you’re looking for, one will be more suitable than the others. Builderscrack has hundreds of independent flooring contractors throughout New Zealand with the experience to handle any flooring renovation job. Post your job at bc.nz.
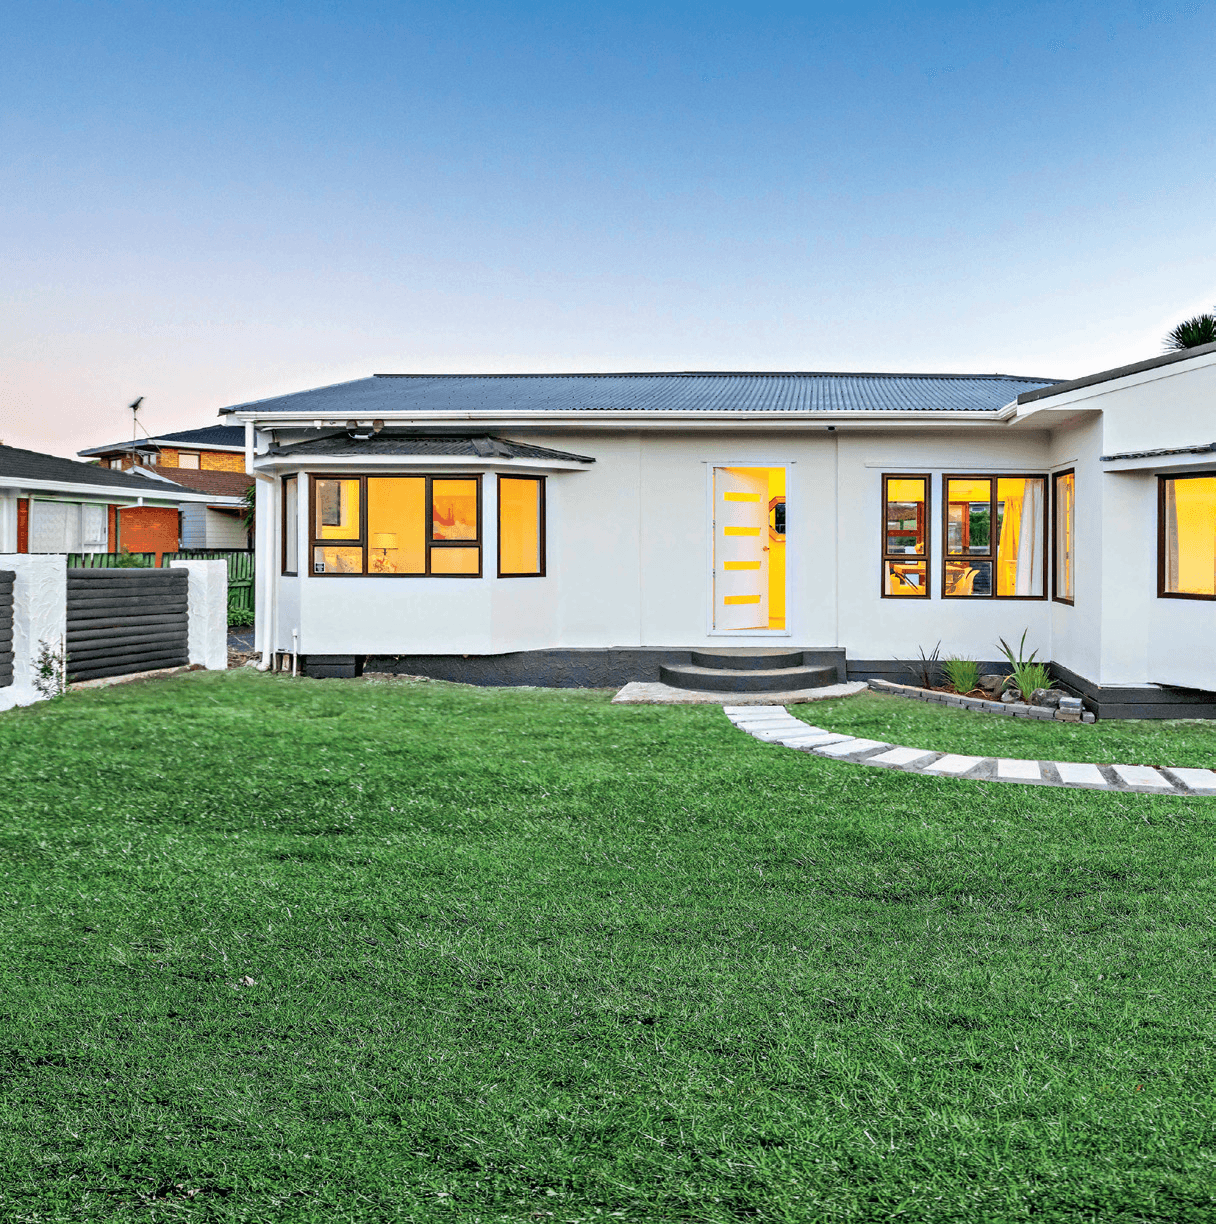
The plaster exterior was a different story – the textured “effect” aged the house considerably and made it look dated. The solution was to remove the texture and repaint the cladding, bringing the home up to date.
Although structurally the home was sound, there were some unwelcome surprises along the way as the builders worked through the endless “todo” list. One of the most unpleasant surprises was a giant beehive in the wall underneath a bay window.
This was revealed when the cladding was removed: the bees had long since moved on, but the 50cm diameter hive was a shock.
The holes in the roof had been a concern, but this proved unfounded. It transpired that there were actually two roofs: the original corrugated iron roof had been topped with a compressed tile roof.
“This meant that no water had been allowed through and the framing was dry,” says Tavakoli.
‘I wanted to prove that I could transform it into a nice house, and I definitely achieved that goal’ RAMIN TAVAKOLI
A makeshift carport had been knocked up without consent by the previous owners. This had to be removed, as did a number of trees that were blocking out the sun and making the home cold. A dishevelled deck was also removed and replaced by a more expansive alternative that can be used for outdoor living.
No Expense Spared
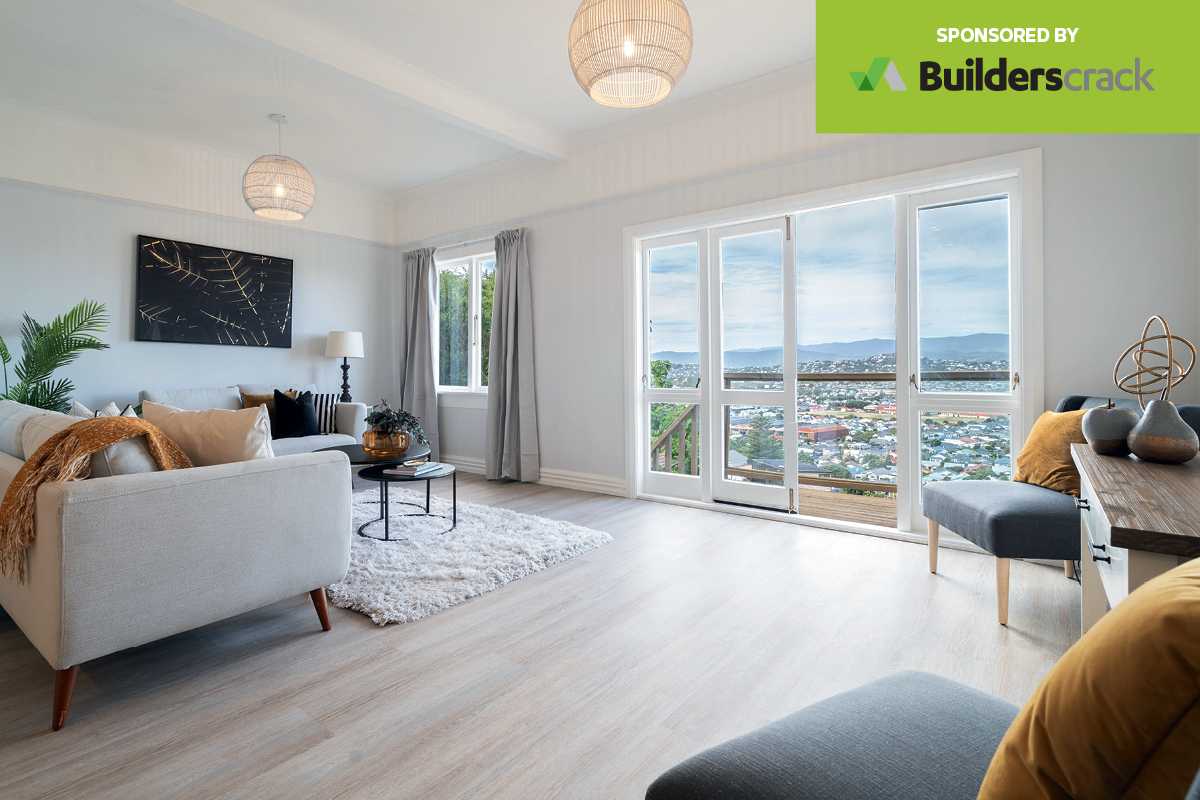
Tavakoli’s aim for the home was to create a space that a first-home buyer would love to call their own – to this end he spared no expense creating a home that would stand the test of time. The rimu floors were polished, and plush Feltex carpet laid in the bedrooms.
An Ex-Space kitchen with an engineered marble benchtop has transformed the formerly derelict space into an entertainer’s dream. In the bathroom, white marble tiling, with a black marble feature wall, create a truly luxe feel.
These weren’t cheap and cheerful spaces: Tavakoli spent $20,000 on the bathroom and $25,000 on the kitchen. “I wanted to make sure that the buyers had a place that they wouldn’t have to spend any money on when they moved in,” he says.
The entire house adheres to Healthy Homes standards, it’s warm and dry and perfect for a family. It’s been reconfigured from a two bedroom to a three-bedroom home, and the entire build has been finished to the highest standards. The home took seven weeks to renovate and went on to sell for $590,000. The renovation cost over $200,000 however, so there was a loss of around $20,000. But this has been seen by Tavakoli as a marketing expense: the entire project was documented via his Facebook page and it’s gotten a lot of traffic.
“I’ve definitely picked up a lot of extra work through this project. I wanted to prove that I could transform it into a nice house, and I definitely achieved that goal.”


